Backing up your data

Jepp, you are correct. A quick Google search for your data backup will give you 49 million results. You will then wonder why I would write an article on Medium.
I am creating this guide to simplify technical terminology, making it accessible to everyone. Whether using Windows or MacOS, you can easily understand how to back up your system. This guide is for you, no matter what system you use.
Also, I’ll guide you through creating a backup of all your content published on Medium in case something goes wrong. I am sure you have put much time and effort into your publications and building an image or brand. Imagine if it vanished one day because of infiltrated scammers and spammers, and you did not have a backup. At least I would be devasted.
Windows recommends backing up your system using the cloud, which will cost you money and give you less control over your data. Apple recommends backing up your systems using iCloud, which, you guessed it, will cost you a monthly fee.
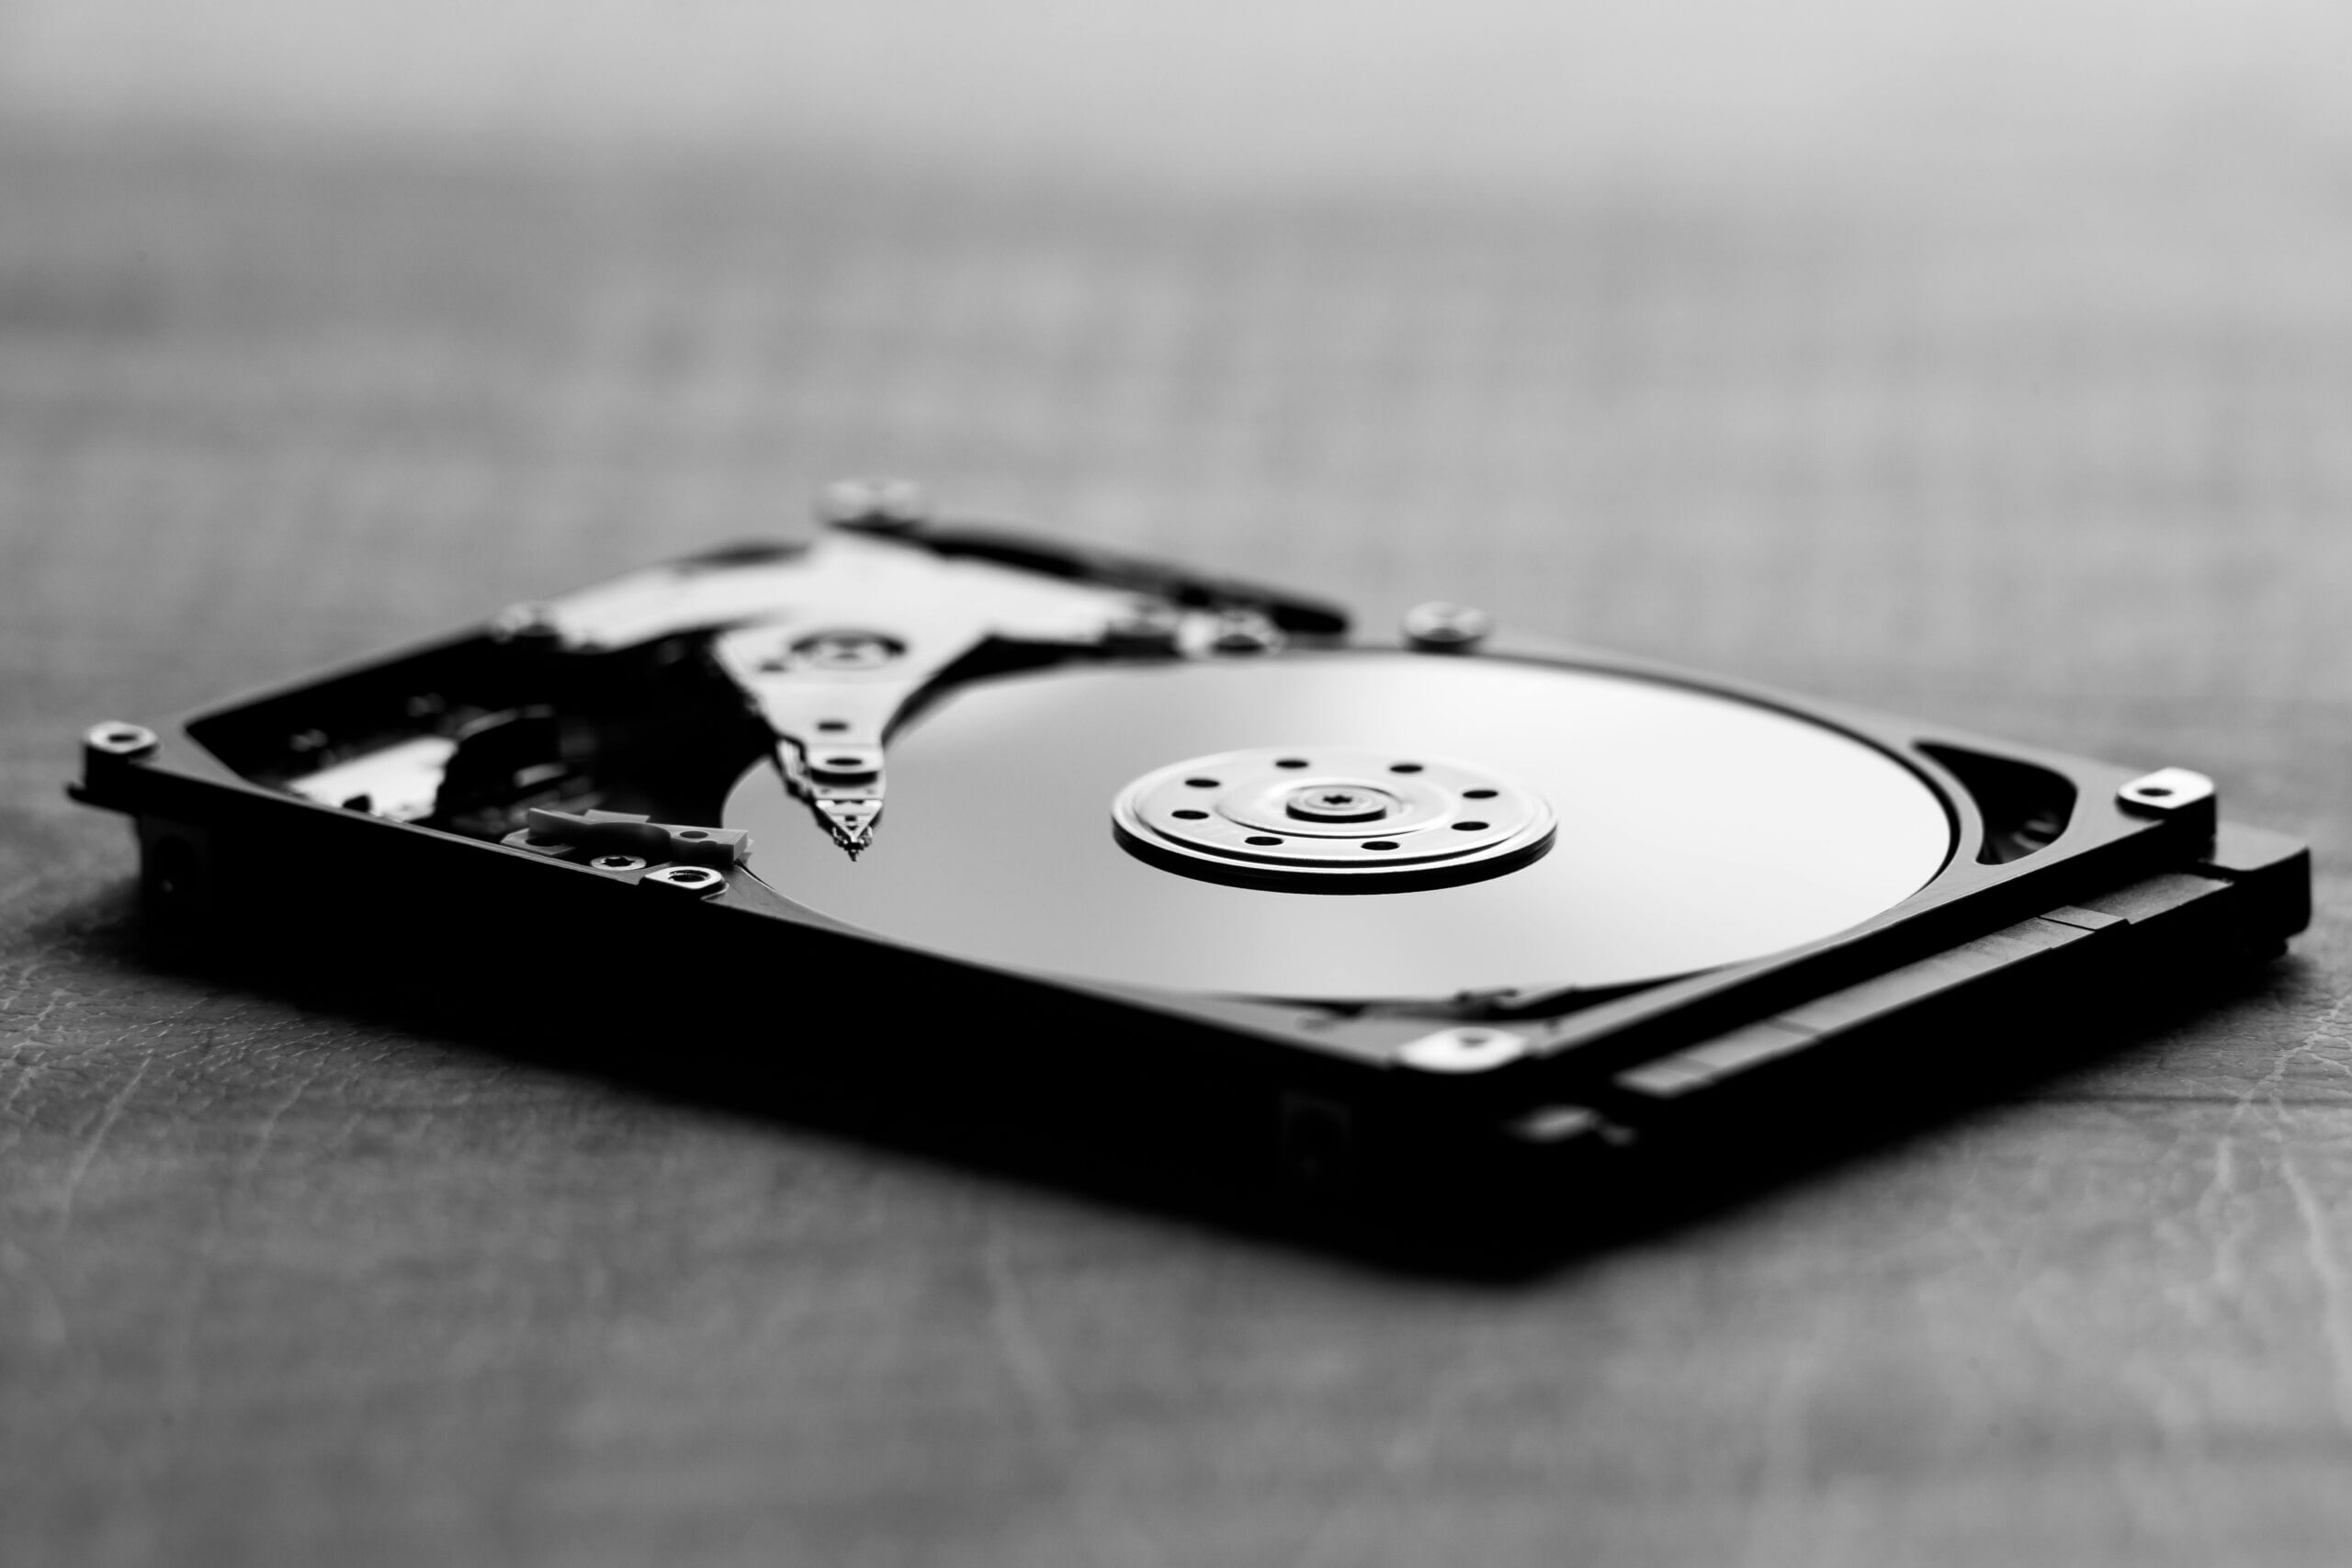
I recommend investing in one external hard drive, at least 1 TB each, as a one-time investment. If you are a multi-OS user like me, things might get a bit more complicated, but don’t worry—I’ve got you covered. Just stay with me.
I have used Toshiba with 3.0 for years and recently moved to Seagate One Touch, 1TB Portable External Hard Drive, to back up my Windows and MacOS systems. This is reliable, fast (USB 3.0), plug-and-play, and can be purchased from Amazon.

I currently use Windows 11 on my primary system and MacOS Monterey on the go. Still, my favorite operating system is Kali Linux, which is the topic of another article.
To back up everything from Mac and Windows and to be compatible, you must create two partitions, one in NTFS format to use with Windows and the second partition format in exFAT to back up the data from your MacOS.
By default, the external drive is formatted in the NTFS (New Technology File System) format used by Windows, and if you use only Windows, there is no need to partition it.
If you want to use the portal drive to backup the system on Windows and Mac, do the following:
Plug the portable drive into your PC, right-click, choose NTFS, and add the partition size, say half of the drive if it has 1TB = 1000GB. Then, choose a Volume label. Call it whatever you like, and press start.
You should now have a portable drive with two partitions, half in NTFS format and half in exFAT format.
To verify this, search for Disk Management on your search bar.

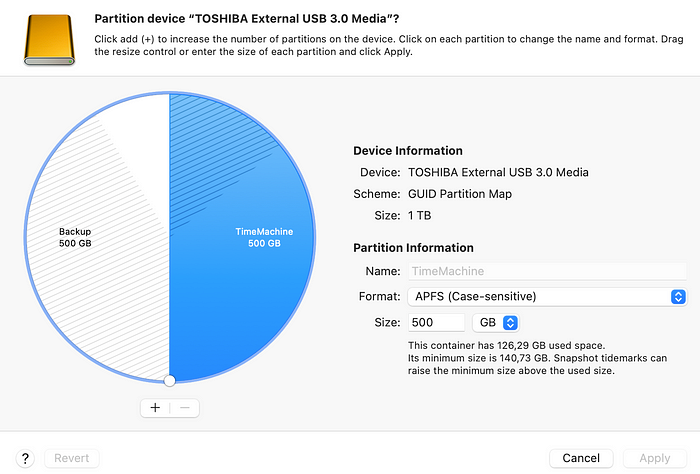
You can do the same thing in MacOS: plug your portable drive into a USB port and open Disk Utility.
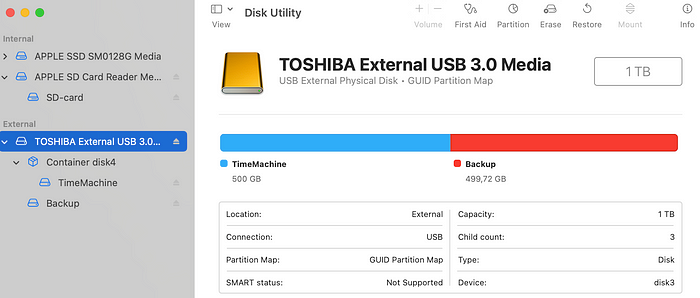
To partition the portal drive, go to Erase in the top right corner and choose a name, the format in APFS, and the GUID Partition Map.

To verify that the partition (dividing the portable drive into two sections) was done correctly, click the partition in the top right corner. Please remember that formatting any drive will delete everything on it.
Backing up your Windows system
This will back up your entire system (create a system image), including programs, files, and photos.
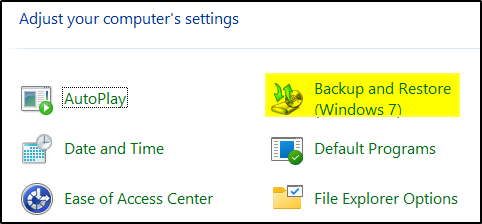
Step1: In Windows, press the search bar, look for Control Panel, go to System and Security, and click on Backup and Restore (Windows 7);
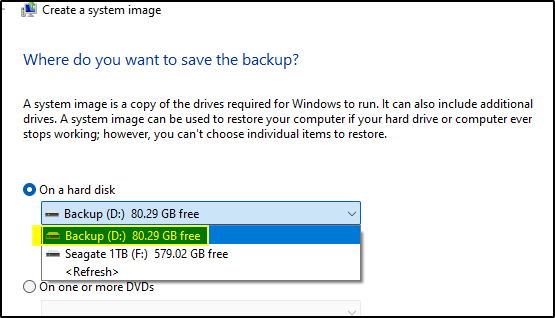
Step 2: On the left, click Create a System Image and choose where to create it. You can select the spare portable drive where you want to put the image and click Next.
Backing up your MacOS
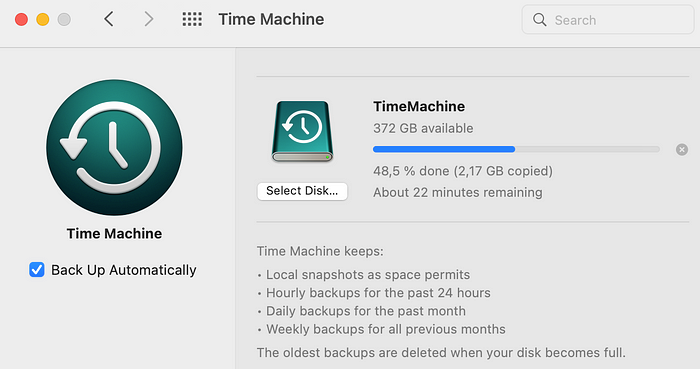
To back up your MacOS system, you will use Time Machine to automatically back up your files, including apps, music, photos, email, and documents.
Step 1: Connect the external drive via USB for the older MacBook, and if you don’t have USB ports, you will need an adapter.
It is recommended to use a storage device with at least twice the storage capacity of your Mac. In our case, you will have roughly 500 GB of disk storage to back up your data.
Set up the storage device as your backup disk
-
- From the Apple menu in the corner of your screen, choose System Settings.
-
- Click General in the sidebar, then click Time Machine on the right.
-
- Click Add Backup Disk, or click the Add button (+).
-
- Select your connected storage device and click Set Up Disk.
After setup, your Mac Immediately uses the external drive to make backups.
Well done; now you have one portable drive that automatically backs up your Windows and MacOS systems with everything in it.
Time Machine automatically makes hourly backups for the past 24 hours, daily backups for the past month, and weekly backups for all previous months. The oldest is deleted when your backup disk is full.
You are the owner and responsible for your data, and you can now change the backup frequency as desired. However, I recommend doing that once a week rather than daily.
I recommend unplugging the portable drive and taking it offline once the backup is done. That way, your data is safe, and nobody can corrupt or steal it.
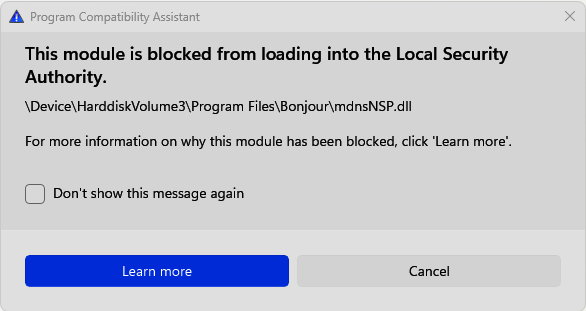
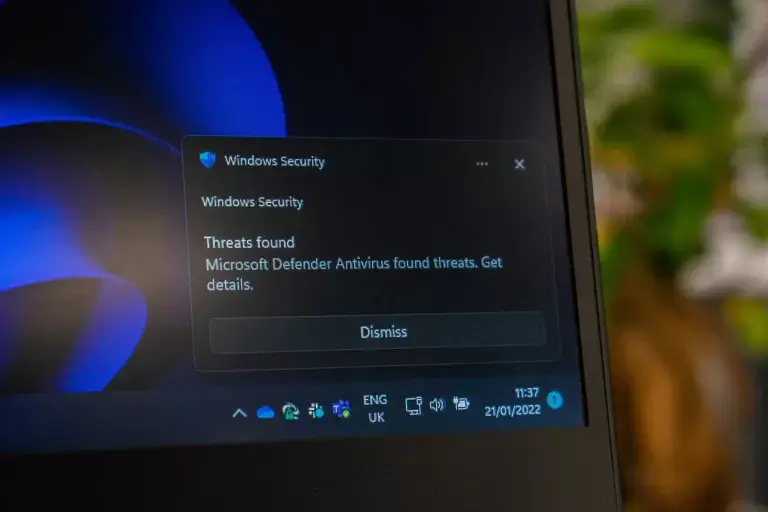
You can quickly recover your data if your system is hacked or infected with a virus, malware, or Trojan horse.
Backing up all of your Medium stories
You have put much time and effort into your publications and building an image or brand. Imagine if it vanished one day because of infiltrated scammers and spammers, and you did not have a backup.
How To Backup Your Data
-
- Click your profile picture on the top right.
-
- Go to settings.
-
- Go to Security and apps.
-
- Click on Download Your Information.
Under account settings, click the ‘Download zip’ button to the right of ‘Download your information.’
Medium will email you the .zip file, which you can download and save on your system.

Thank you for reading my article. Stay tuned for more articles on cybersecurity, bug hunting, encryption, and decryption.
Helpful this? Support me for more content.
![]()