
Installing a Hacking OS in 4 steps
Cyber security is ever-changing, and choosing the best OS with the right toolkit is crucial for ethical hackers and security pros who want to sharpen their skills.
Hacking Lab
To set up a hacking lab, you will need a pre-installed attacker machine such as Parrot OS, Kali Linux, CommandoVM, BlackArch, or others with the toolkit to scan, enumerate, and attack.
This article delves into how to install Kali Linux.
Toolkit
Using pre-built hacking systems like Kali, BlackArch, or Blackbox can be more useful and straightforward than building your hacking system from scratch. It will take you forever.
I will use Kali Linux, which I have used for over ten years and installed as bare metal on an older laptop for testing.
I also use Kali on VMware Workstation Pro 17 on my main system but also on my Macbook Pro with VMware Fusion, and I have more than two Kali Linux Live USB drives with Persistence.
As a security researcher, bug bounty hunter, and cybersecurity student, Kali Linux is my primary go-to tool and favorite Operating System. I have lost count of how many times I have installed the Kali image and never thought about writing an installation guide until now.
You could also make a bootable drive using Rufus or Etcher, but it is recommended to make one with persistence. Otherwise, you will lose all the configurations and settings when unplugging the USB drive.
Over the years, I’ve tested all sorts of image files from OVA, ISO, ARM (for Raspberry Pi), and Live Boot with WSL (Windows Subsystem for Linux), but this is the first time I’ve decided to write an article about it.
If you are on Windows and use WSL, you can find the installation file in the Microsoft Store.
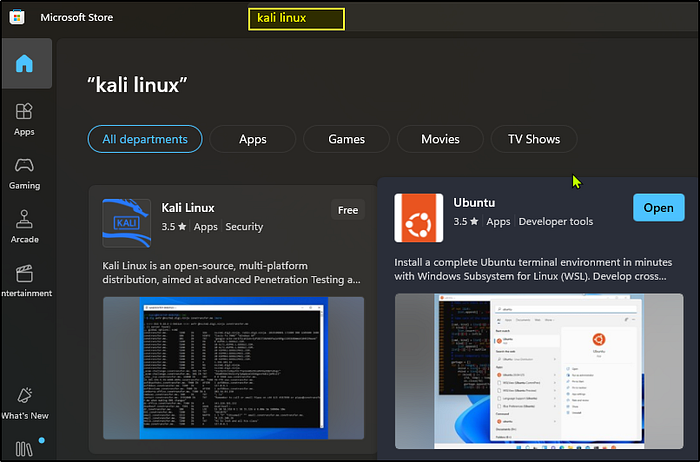
However, in this article, I will guide you through installing the latest version of Kali, 2024.2.
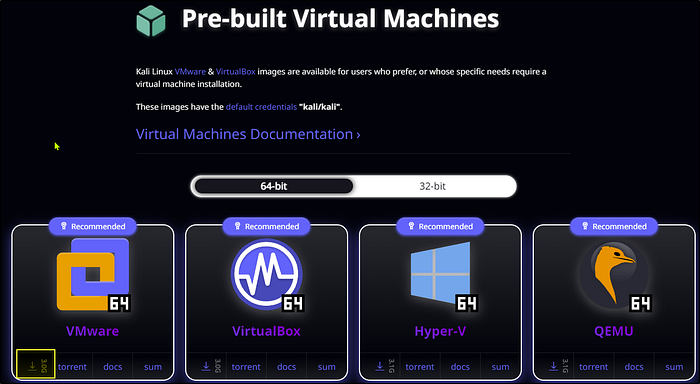
#Step1
You can navigate to kali.org and look for the Pre-build Virtual machine images available for all the systems.
Download the VMware image with 64-bit for VMware and extract the files from the .zip file.
#Step2
To add and install the file we just installed, go to “Open a Virtual Machine” in VMware and look for the .vmx file, which is a VMware virtual machine configuration file.
Bear in mind that many files are installed in the Kali folder.
Click open, and once the file is added to VMware, you need to go to machine settings.

You can change the memory to 4 GB and the Hard Disk to at least 80GB and add a new adapter NIC. If you want to set up an ethical lab, you will need another Network Card Interface that must be configured to communicate with the target machine. I will write more about it and how to set it up in a future article.
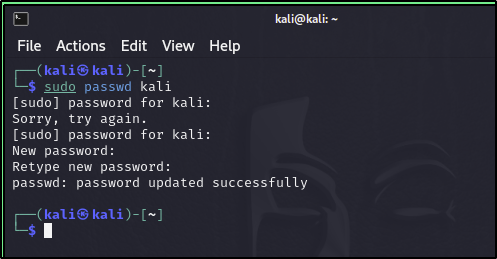
#Step3
Now, Power on the virtual machine, and you should be good. The default credentials are Kali and Kali, and you should change them as soon as possible.
sudo passwd kali
kali
New password
New password
#Step4
If you use Windows, ensure the hardware compatibility is set to Workstation 17 in the Virtual Machine Details. This is not set by default, and the VM might not work as it should.
Please check my other article here if you want to know how to change the hardware compatibility and how to upgrade to VMware Workstation Pro 17 or VMware Fusion for free.
Thank you for reading my blog post.