VMware Workstation 17 Pro For Free
Virtualization software, such as VMware, Virtualbox, or Parallels, is the answer if you want to use many different operating systems on your machine for various purposes. Just remember that they use resources from your host machine, especially a lot of Random-access memory (RAM).
I will not discuss too many details about what virtualization is as it is out of scope; I assume you already know.
You may have heard the exciting news that VMware Fusion (for Mac) and Workstation Pro (for Windows) are free for personal use, but you need help upgrading or installing them on your machine.
Don’t worry. In this article, I will guide you through downloading the new personal version of VMware Workstation Pro 17. 5.2 for free.
If you are like me, having used VMware for more than seven years and updating version after version, you may need help to upgrade to version 17. x.All the VMware download links are being moved to the parent company, Broadcom, so if you need to download software, you must do so from the Broadcom customer portal.
Step 1
Go to broadcom.com, and in the upper right corner, select “Support Portal.” You can log in by clicking “Go to Portal” or registering for a Broadcom account.

Step 2
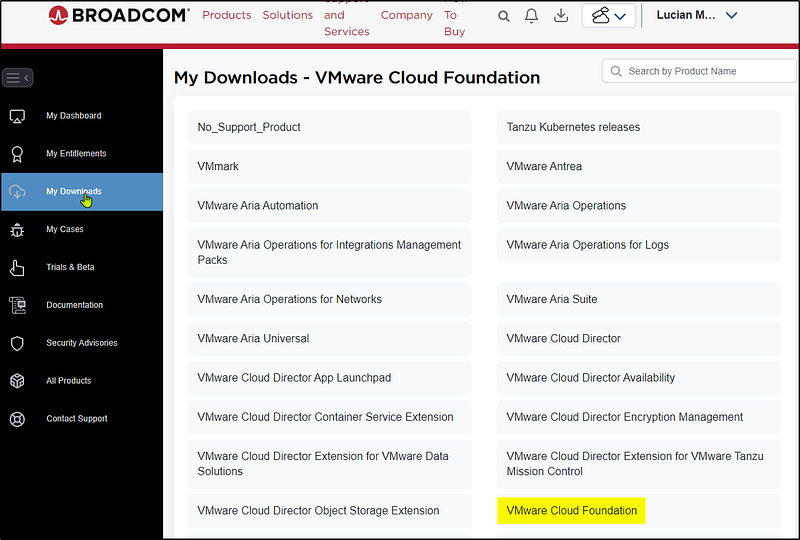
Once logged in, go to support.broadcom.com, and in the left panel, choose My Downloads. You will see VMware Cloud Foundation. You can search for Fusion or Workstation or scroll down until you see VMware Workstation Pro.
Step 3
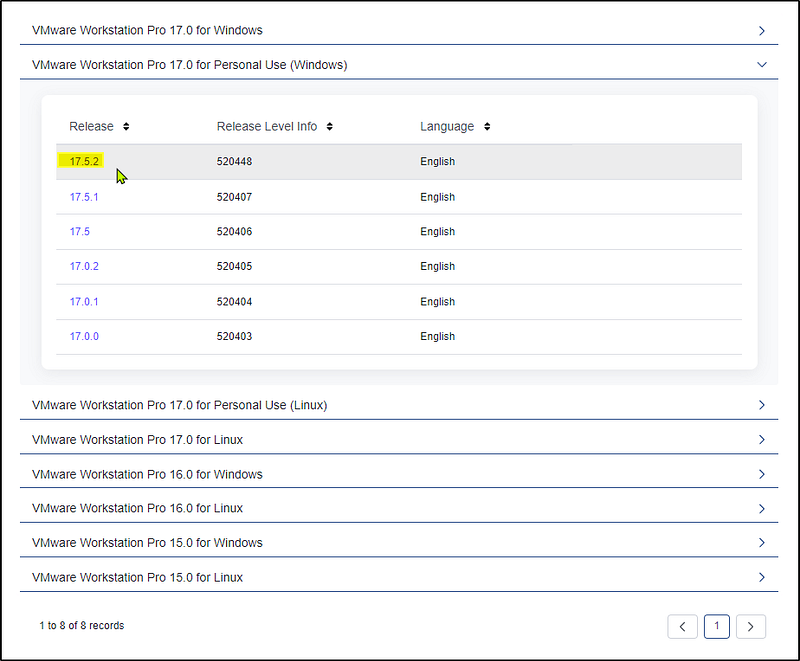
Click on the VMware Cloud Foundation and choose “VMware Workstation Pro 17.0 for Personal Use (Windows)”. When writing this article, the newest version is 17.5.2. To use the Pro edition, you must install Fusion Pro 13.5.2 (Mac OS) or Workstation Pro 17.5.2 (Windows or Linux). In this article, I am focusing on the Windows version.
Now click on version 17.5.2 to find the SHA2 and MD5 hash and the file on the right side.
Step 4
To download the software, click on the right arrow, and you will need to verify yourself once again with your credentials.

Step 5
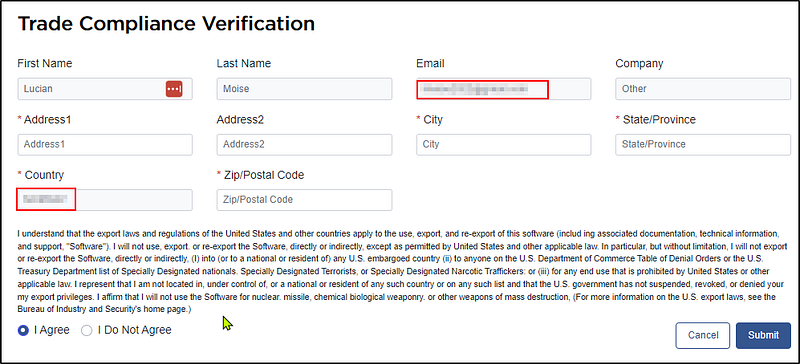
To get the file, please fill out your credentials, read and agree to the terms, and submit the compliance verification.
Step 6
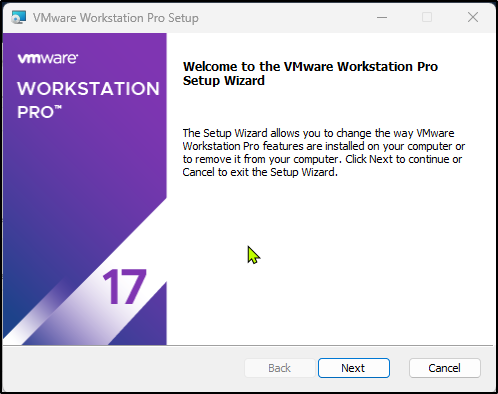
Once the .exe file is installed, double-click it to install the software, just like any other Windows program.
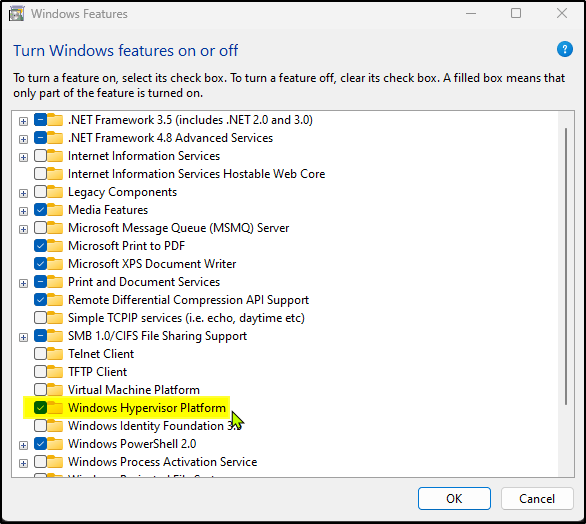
If you have a Hyper-V or Device/Credentials Guard enabled, you will encounter this pop-up window “Compatible Setup.” In that case, you may install Windows Hypervisor Platform (WHP) by checking the following checkbox, which will work automatically.
If not, you can go to Windows Features and turn on Windows Hypervisor Platform. You do not need to restart your computer yet; wait until the installation is complete.
Step 7
Once the installation is complete, please look at the bottom of your Virtual Machine Details. The hardware compatibility will automatically be 17.5.x if it is a fresh installation.
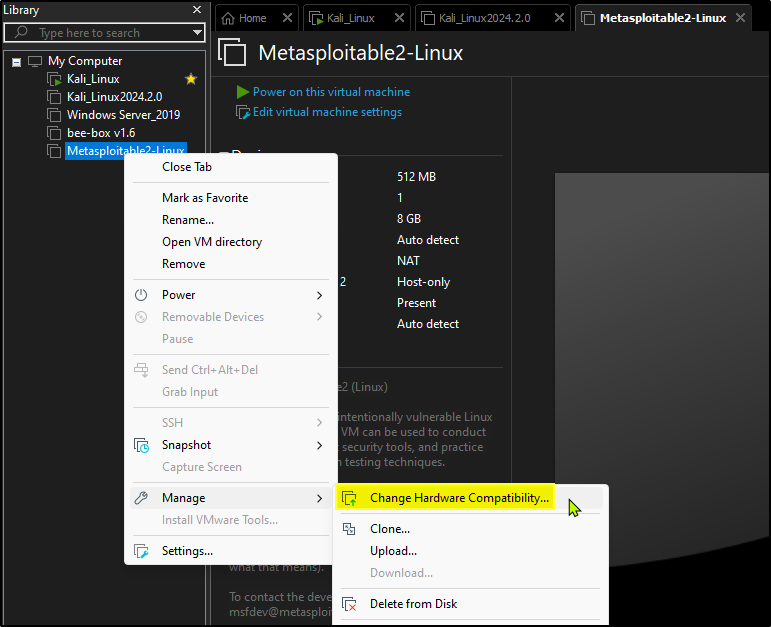
If you have an older VMware installed on your machine, you must manually change the settings for every VM installed.
This is done by right-clicking on the VM, going to manage, clicking on “Change Hardware Compatibility,” choosing the 17.5 version, then next, and altering the VM rather than cloning a new VM machine. That is just a matter of preference. If you would like a clone of the VM as a backup, feel free to do so, but I didn’t have any problems altering any of the VMs.
Having a clone of your VMs is always good practice, and I highly recommend it.
Once that is done, you will see the “Virtual Machine Details” at the bottom of every single VM.

Step 8
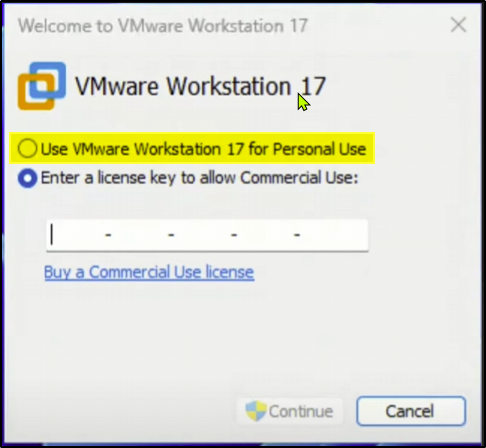
Now click the “Use VMware Workstation 17 for Personal use” and finish.
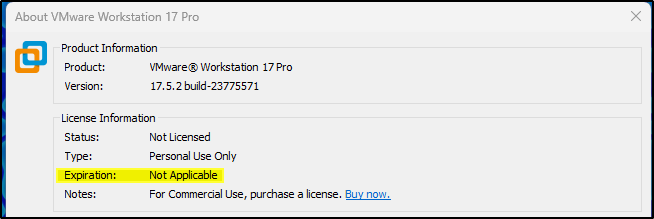
To confirm the installation succeeded, go to Help at the top and press “About VMware Workstation Pro 17”.